I haven't used my sewing machine in a really long time. I'm talking about 5 months! When my niece asked for books for her birthday my Mom and I thought a perfect compliment to the gift would be a handmade bookbag! I did not use a pattern for this bag, I just made it up as I went along using my former bag making experiences as a guide. Using fabric already on hand with this particular niece in mind, here is what I did.
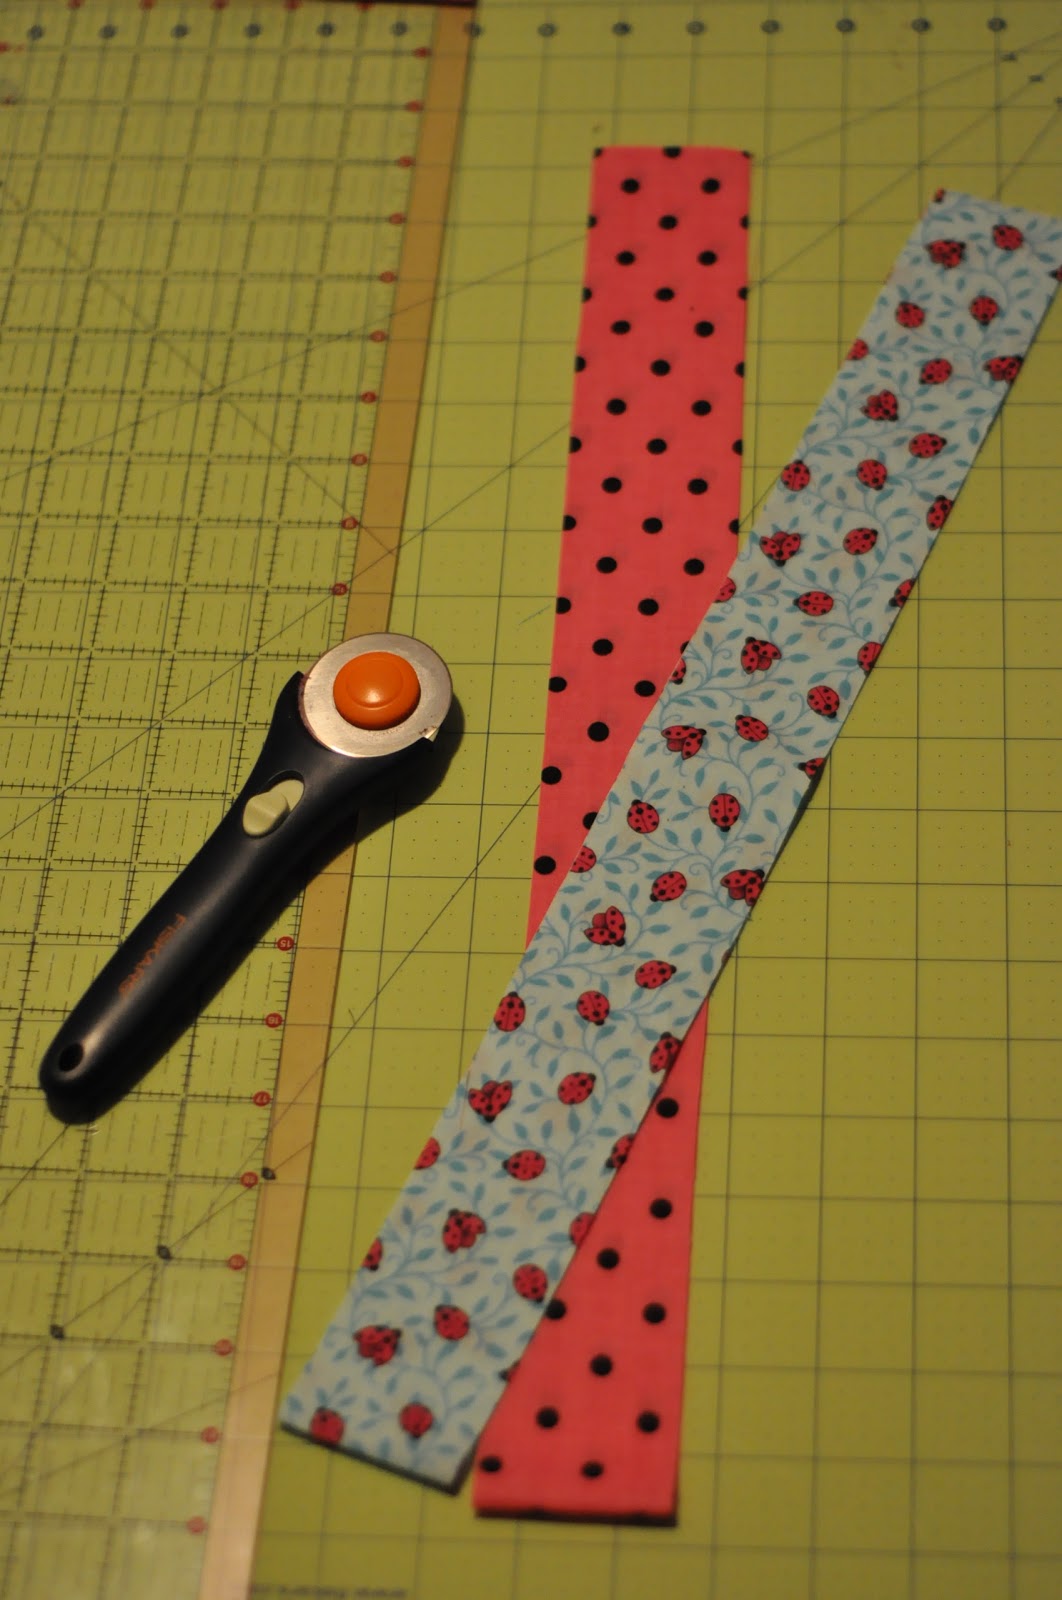
First, cut out all your fabric pieces. For most bags I make I use two or three coordinating fabrics. Fabric A is the outer bag and Fabric B is the inner lining of the bag. Fabric B is also used for the outside pocket. If you would like an inside pocket, you would use Fabric A for that.
Cut two 2" x 38" handle pieces, one of Fabric A and one of Fabric B
Cut two 6" x 9" pocket pieces from Fabric B
Cut two 13" x 15" bag pieces on the fold of the fabric so that your pieces are actually 13" x 30" with the fold on the bottom 13". Cut one from Fabric A and one from Fabric B (photo not shown)

Start by sewing the pocket. Sew all four sides together with a 1/2" seam with the right sides facing in. Leave a small opening on one side to pull the fabric through. Pull the fabric through and press the pocket flat with an iron. Leave the opening unstitched.
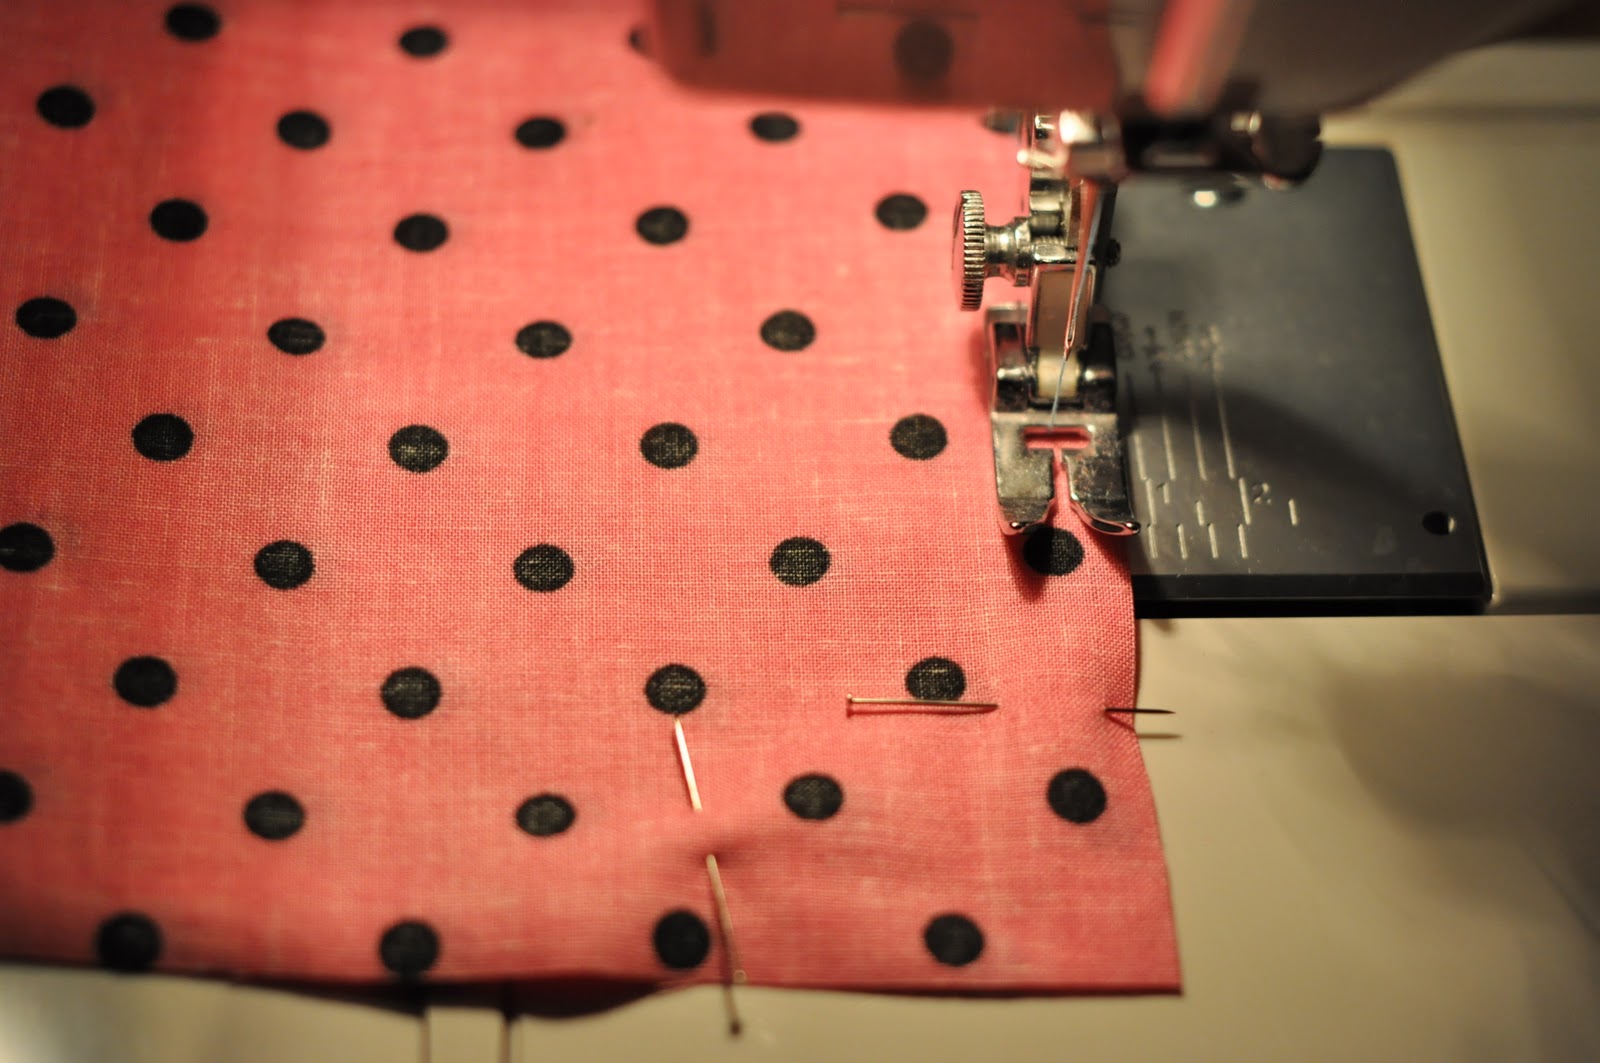
Pin the pocket to the right side of the outer bag piece, Fabric A. The fold of the fabric is the bottom of the bag. Place the pocket in the center allowing for 1/2 inch seams around the edges. Place the pocket with your unsewn opening at the bottom. When you stitch the pocket you will also stitch the opening.
Sew a 1/4" seam around three sides of the pocket, leaving the top open.


Sew the main bag by sewing a 1/2" seam down the two sides leaving the top of the bag open. The bottom of the bag is the fold and does not need to be sewn.

To make a bag with a gusset, fold open one corner of the bag so that the side seam is in the middle creating a point. Measure two inches up both sides and mark with a pen. With a straight edge, connect the two marks by drawing a line across the fabric. Sew across the line.


Cut excess fabric. Repeat for the other corner.

Repeat the above steps for the inner lining, Fabric B excluding the steps for the pocket.
Next, create your handles by sewing a 1/4" seam down the length of the fabric with the right sides of the fabric A and B facing each other. Press the seam. Fold the outer edges to the center and press.


Fold the handle piece in half and press again. You will have one 38" piece with Fabric A on one side and Fabric B on the other. Sew along both edges as shown. About a 1/8" seam.


Cut the piece in half. You will have two 19" identical handle pieces.

Pin the handles as shown and sew into place on both sides of the bag. Place your lining inside your main bag with the right sides facing each other. Be sure that the handles are inside the bag. Sew around the top edge of the bag with a 1/2" seam. Leave a 1 1/2 to 2" opening to pull the fabric through.


Pull the bag through the opening so it is right side out.

With the lining inside the bag, press the top of the bag and sew a 1/4" seam around the top of the bag. You will sew over the handles again, making them more secure. You will also sew shut your pull through opening.

And that's it! You are done! I am planning on making more of these. They are great for library books, ballet clothes and shoes, sports clothes and shoes, all you have to do is change up the fabric to fit the activity!

No comments:
Post a Comment
I love comments!